Calendar View in Atwork
Calendar View in Atwork
The Calendar View in Atwork is a versatile tool for scheduling and managing tasks or events, providing a clear, time-based perspective on your workflow. Here's how you can maximize its functionality:
Setting Up the Calendar View
When creating a Calendar View, you’ll need to choose a date-based property:
Show By Property: Select the column in your data table that holds the date information (e.g., “Due Date” or “Event Date”).
This determines which dates the tasks or events will appear on in the calendar.

Filtering Items
Use the Filter option to control which items are visible on the calendar.
Example: You can filter to show only tasks with a specific status (e.g., "In Progress") or those assigned to you.
Multiple conditions can be added for a customized view.

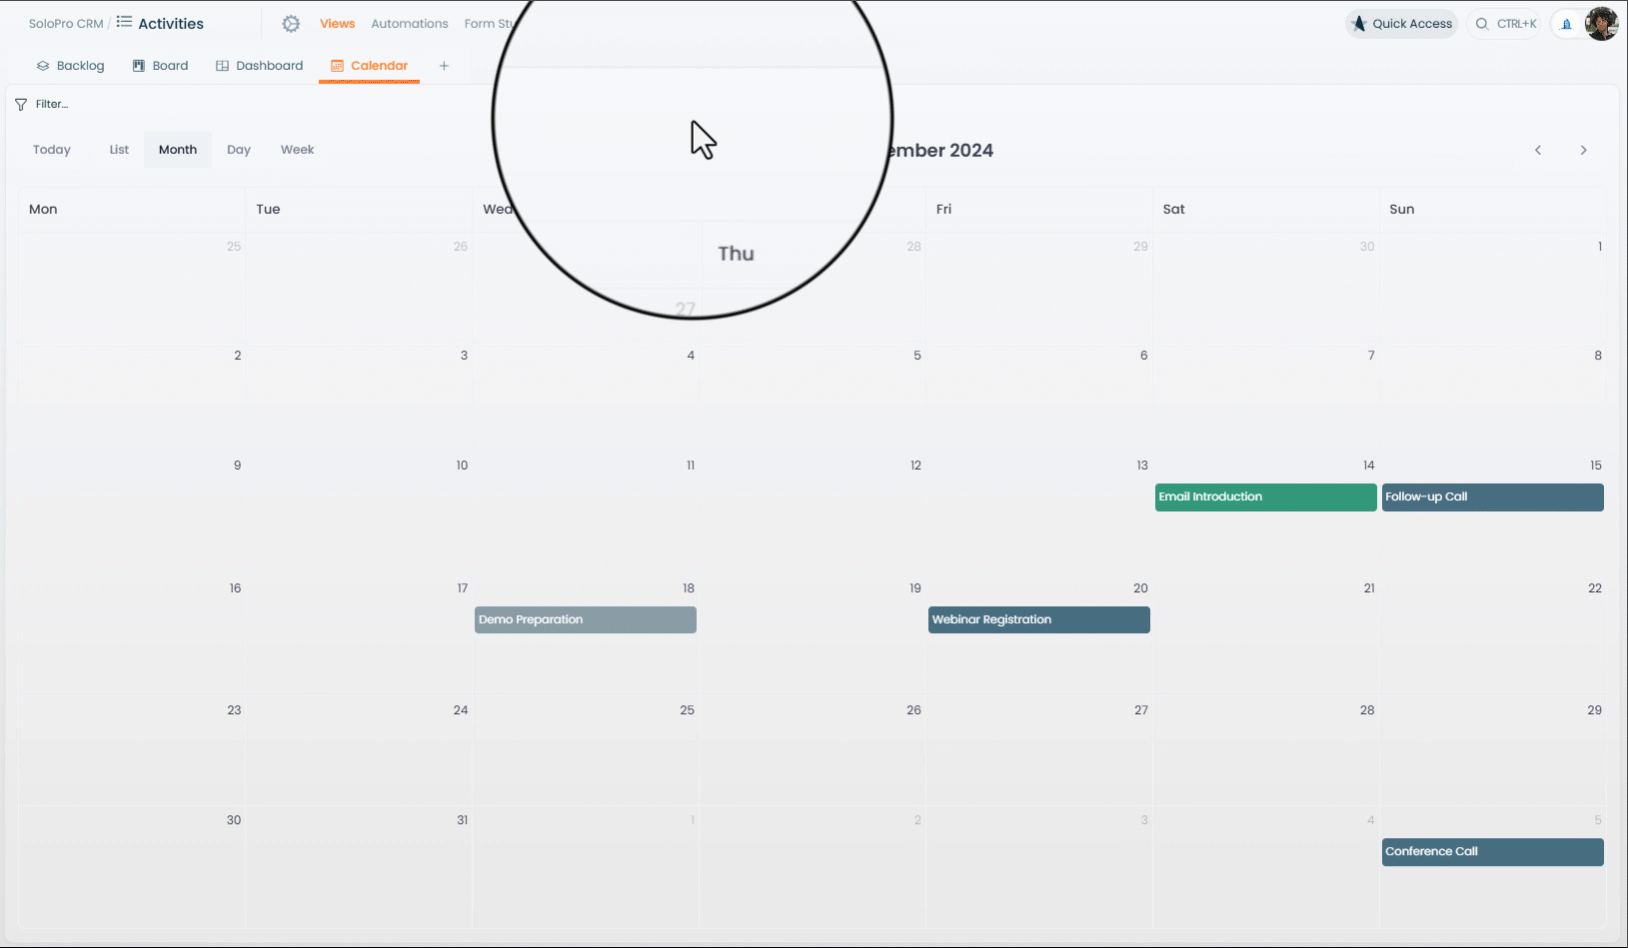
Changing the Calendar Display
From the top of the Calendar View, you can switch between different timeframes:
Month: Displays an overview of the entire month, perfect for long-term planning.
Week: Focus on the current week’s tasks or events for detailed scheduling.
Day: Zoom in on a single day to manage tasks hour-by-hour.
List: View all items in a chronological list format for quick access to everything.

Adding Items Directly from the Calendar
Click on any date within the calendar to quickly create a new item.
The selected date will automatically be set as the value for the Show By Property (e.g., "Due Date").
This feature is ideal for adding tasks or events on the fly without leaving the calendar.
Why Use Calendar View?
Clarity: Visualize your tasks and deadlines in a time-based layout.
Flexibility: Easily switch between monthly, weekly, daily, or list views.
Efficiency: Quickly add tasks and filter the calendar to focus on what matters.
By combining the Calendar View with other tools like filtering and timeframes, you can effectively manage your schedule and stay organized.